Vanilla Ice was king of the suburban rap scene for a good three or four months back in middle school. But if you want to help your kids become fans of science for a lot longer than that, just get them to stop, collaborate and listen to this totally fun experiment!
Who It’s For: Kids ages 3 and up
What They’ll Learn: The scientific method, states of matter, why they should listen to you when you tell them not to leave the freezer wide open for no good reason
What You Need: Three bowls, three ice cubes, a refrigerator
How It Works:
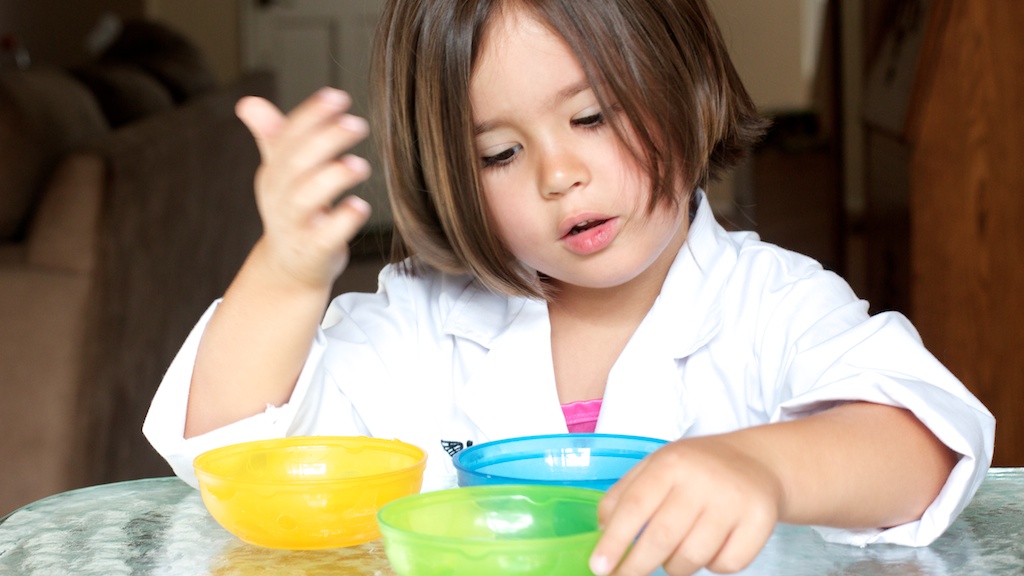
– Have your little scientist help you get out three bowls and three ice cubes, placing one ice cube in each bowl.
– Ask her what she thinks would happen if you left one bowl sitting on the kitchen table, put another bowl outside in the sun, and stuck the third bowl in the refrigerator.
– Make sure you get your kid thinking and talking about this scenario. If it helps, ask questions like: What would happen to the ice cubes? Would they melt? Which one would melt fastest? Which one would melt slowest? Why do you think that would happen?
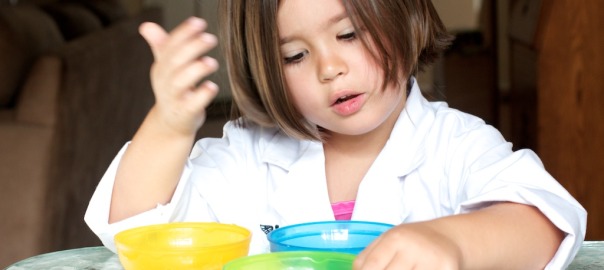
– After your kid is happy with her answers, test them out! Put the bowls inside, outside and in the fridge, then have fun checking on them and comparing them over the next hour!
So you probably already knew your little one was pretty impressive. But now she just added the likes of Copernicus, Galileo and Sir Francis Bacon to her list of esteemed colleagues – because she, just like them, has performed the scientific method!
 When your child talked about what she thought would happen to the ice cubes in hot, cold and mild locations, she was forming a hypothesis. And when she actually put the bowls in those locations to see if she was right, she was testing that hypothesis. When you start seeing results, be sure to talk about those too – was her hypothesis right? Did something unexpected happen? What’s her conclusion about this whole melting ice cube thing anyway?
The coolest thing is, this can be just the first of many science experiments you do with your kids. Here are some tips for setting up your own at-home science lab:
1. Capitalize on your child’s natural curiosity.
Everyone knows that kids ask a lot of questions. And although it sometimes feels like a pint-sized ploy to drive us right out of our gourds, it actually just reflects how naturally curious kids are about the world and how it works. Take advantage of this, looking for everyday situations that can be turned into simple experiments – like testing which objects sink or float, which materials are the most absorbent, which colors can be mixed to create which other colors, and how water changes in taste and weight after sugar has been dissolved in it. We actually got the idea to do this experiment because our daughter asked if an ice cube would melt in the fridge!
2. Don’t be afraid to use big words.
Science is full of big, complicated words: experiment, hypothesis, theory, liquid, absorb, dissolve, disintegrate. Don’t let the size of these words keep you from using them with even your youngest children. Your child may be little, but her ability to absorb the information you give her is really, really big.
3. Let your tiny lab technician take the lead.
When we did this ice cube experiment, we let our daughter be in charge during every step. She made predictions about which ice cubes would melt first and why, she put the bowls in each location, she chose how many minutes we would wait before we checked (and helped us keep track of those minutes on the clock), and she checked the bowls and reported back about their progress. She was the head scientist and she LOVED it! This approach will not only allow your kid to relish being “the boss,” but it will help her get the most out of the experiment too!
Word to your mother.